Safe Floor Movement Routine Matters as We Age
Safe Floor Movement Routine for Seniors to Get Up & Down Safely
🔹Preparing the Body With a Safe Floor Movement Routine Before Devices
🔹Safe Floor Movement Routine Before Using a Spine Aligner Device
🔹Why a Safe Floor Movement Routine Restores Daily Independence
 If getting down to the floor feels awkward, risky, or simply “not worth it anymore,” you’re not alone.
Not through fitness.
But through calm, supported, repeatable movements that rebuild confidence and control.
It’s about access to the Spine Realigner Device.
And access changes everything by embracing our 10-minute-a-day routine.
How Safe Floor Movement Routine Floor Access Affects Confidence and Joint Safety
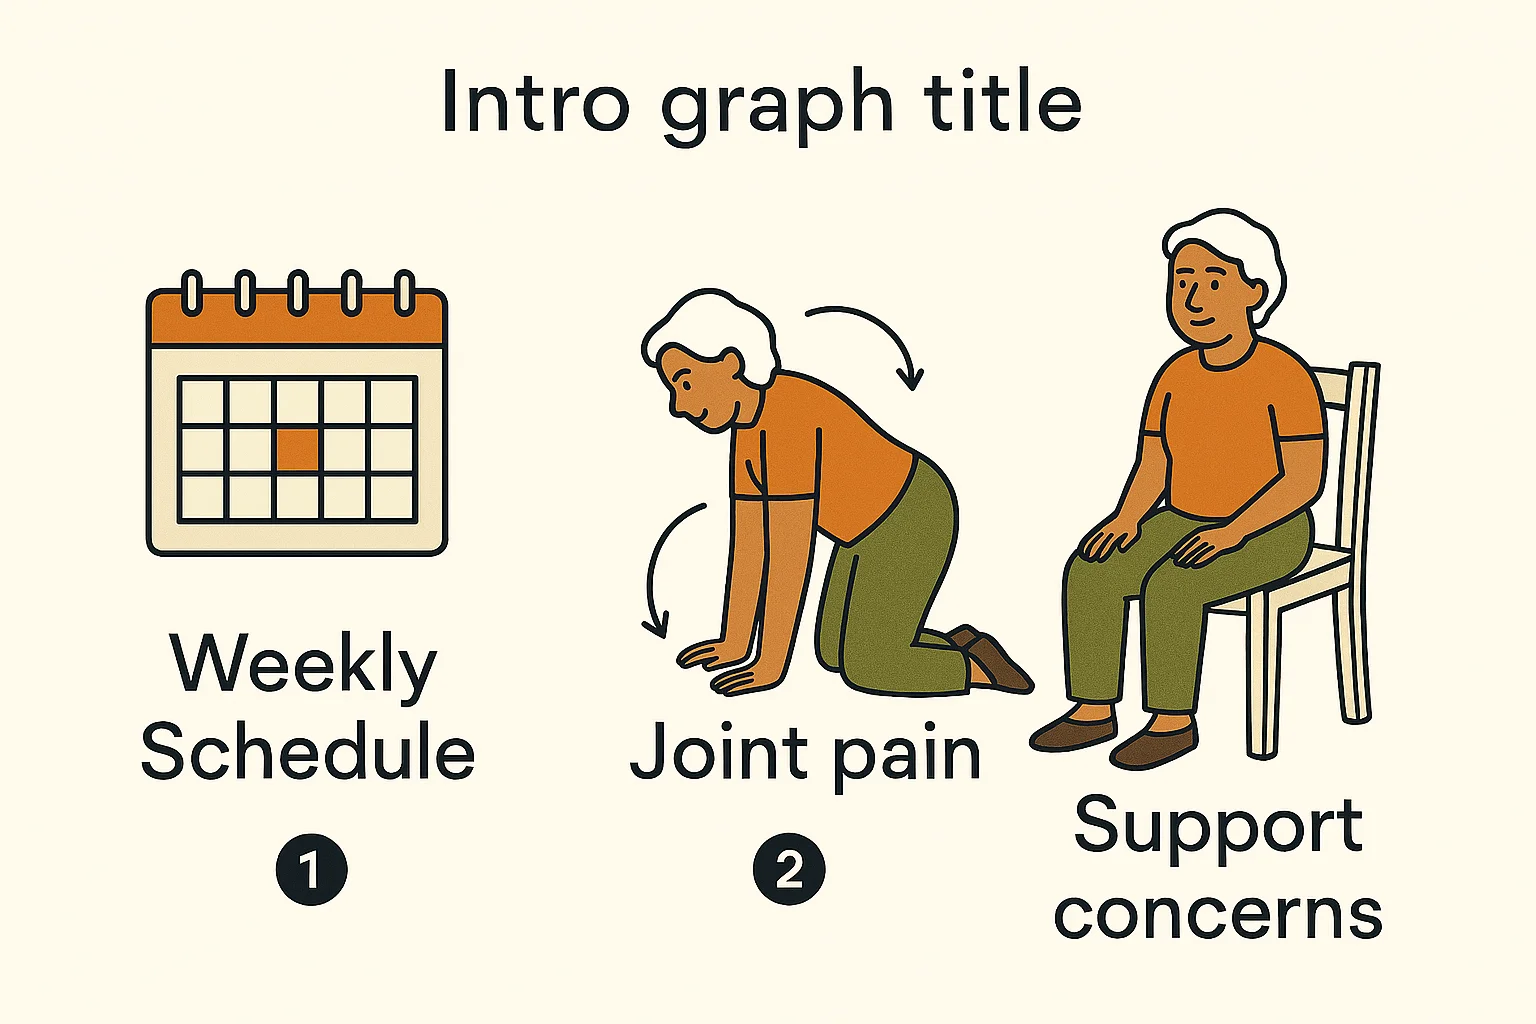
Weekly Schedule · Joint Pain · Support Concerns.
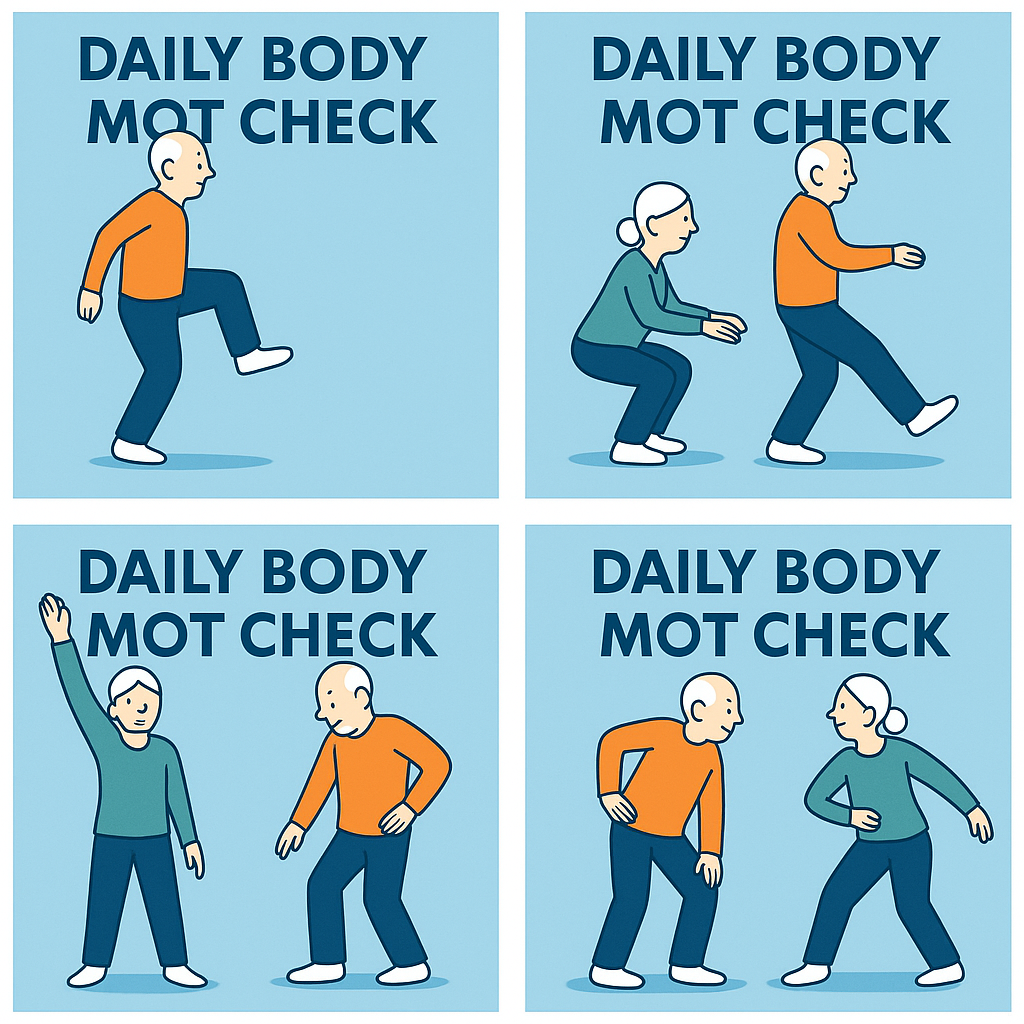
 This opening image sets the tone, and we must slow people down before they even move. The person reading this isn’t here to “work out.” They’re here because joints complain, confidence wobbles, and getting up or down feels like a negotiation rather than a decision. So start by framing this as a weekly rhythm, not a one-off effort. Think short, repeatable sessions, five to ten minutes most days, beats a heroic hour once a week that never happens again.
- You’ve got clear floor space.
- You’re wearing something you can move in.
- You’re breathing normally, not bracing like you’re about to lift a wardrobe.
Rebuilding Trust in Safe Floor Movement Routine Without Forcing the Body
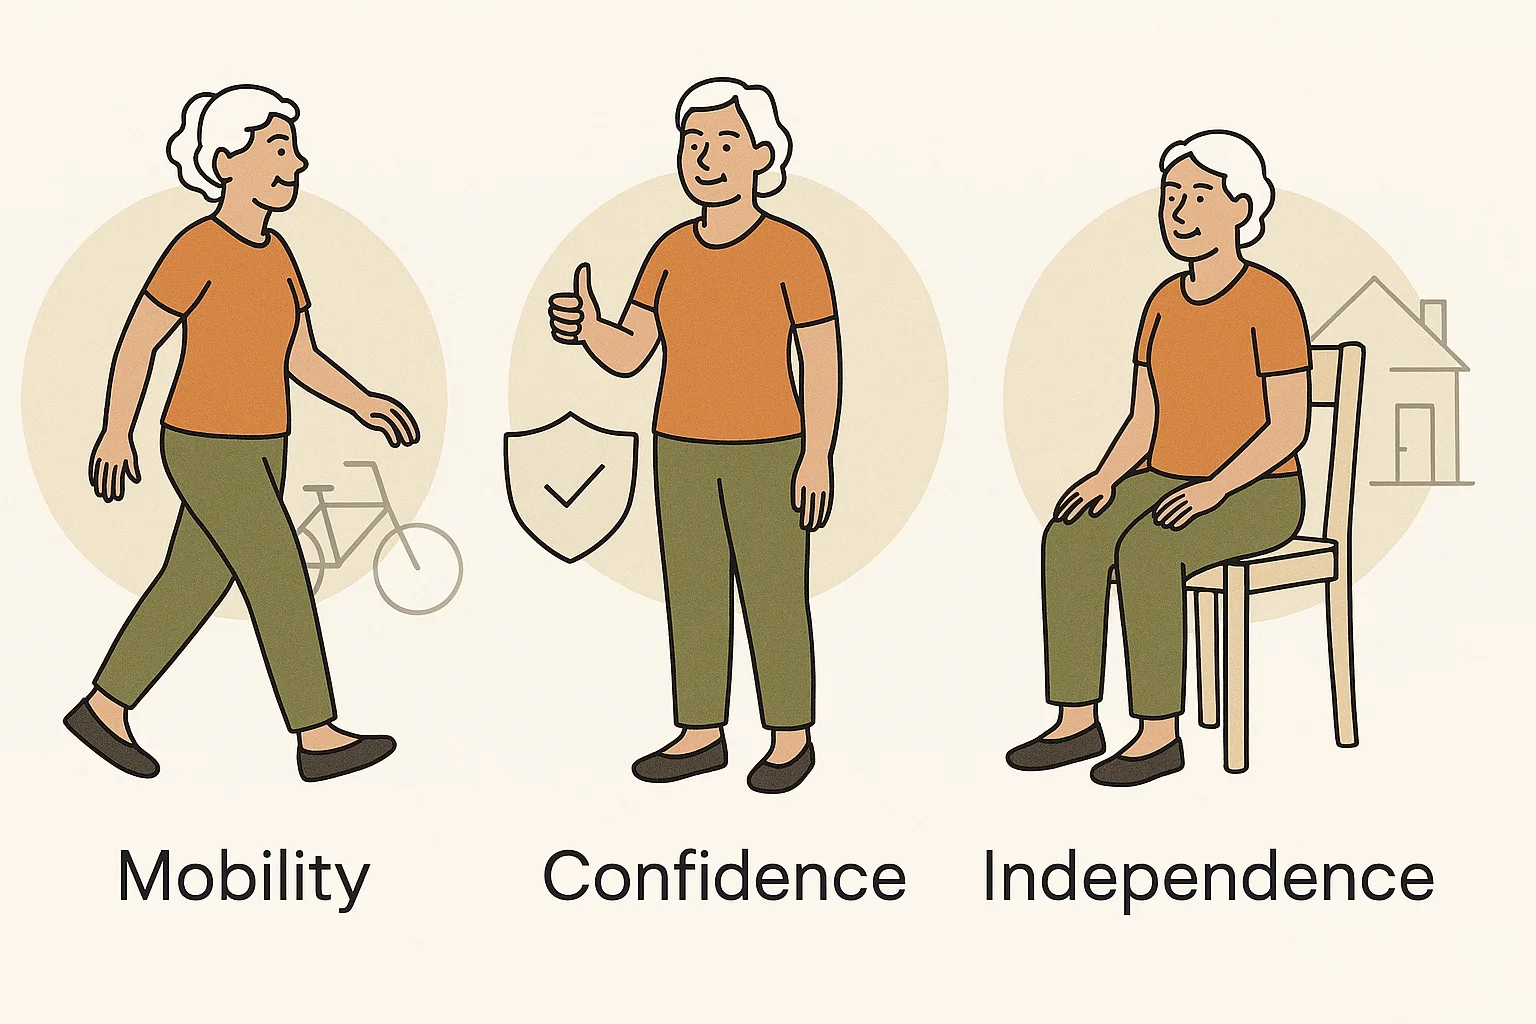
2️⃣ Mobility · Confidence · Independence (Safe Floor Movement Routine)
 This image is about outcomes, not exercises. Mobility is the ability to move where you want, when you want, without planning it like a military operation. Confidence comes from knowing your body will respond when you ask it to. Independence is the quiet result of both.
Gentle Safe Floor Movement Routine Warm-Up Movements Before Going to the Floor
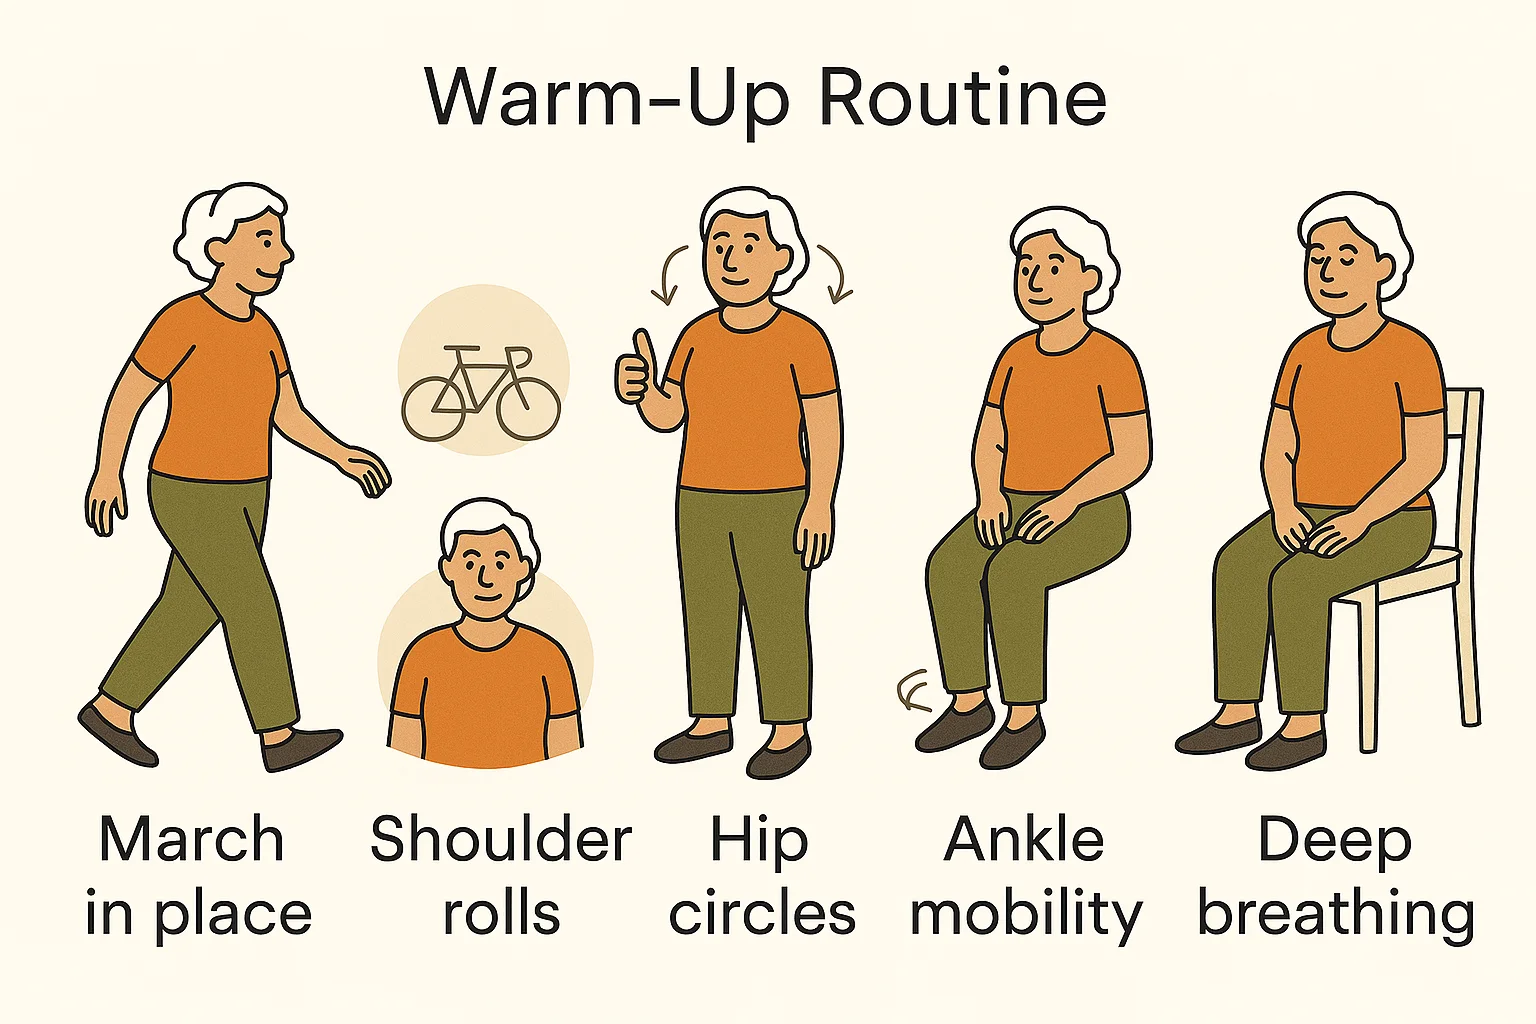
3️⃣ Warm-Up Routine (March · Shoulder Rolls · Hips · Ankles · Breathing)
 Begin standing tall, holding a chair or counter lightly if needed. Start by marching in place, lifting one foot at a time only as high as feels easy. The goal isn’t height, it’s rhythm. Let your arms swing naturally. This wakes up the balance without demanding it.
Using Chairs and Walls for Controlled, Safe Floor Movement Routine Support
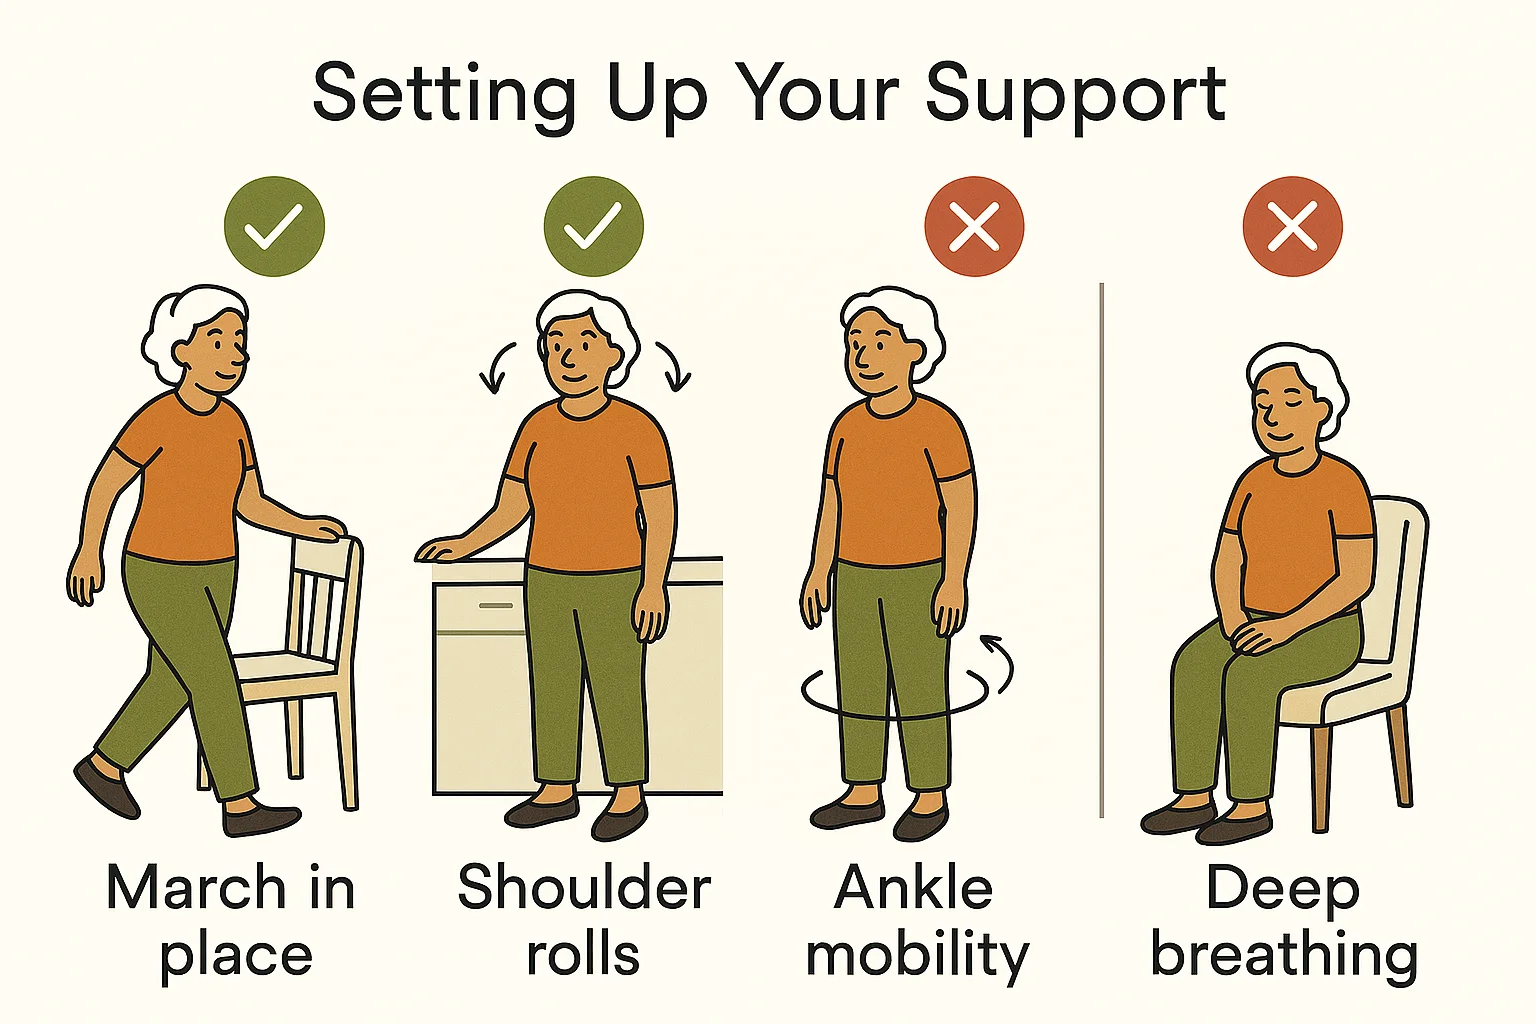
4️⃣ Setting Up Your Support (What to Use · What to Avoid)
 The green ticks in the image matter. Use stable, non-moving support. A solid chair, a kitchen counter, a wall. These give reliable feedback. Your brain relaxes when it knows help is there.
🔹⚠️ IMPORTANT: READ THIS BEFORE USING A SPINE ALIGNER DEVICE
A spine aligner device works best when you’re already lying comfortably on your back.
But many people can’t reach that position safely anymore.
When I first started, I couldn’t crouch.
My knees wouldn’t allow it.
Getting to the floor felt risky, and getting back up felt worse.
That’s why this safe floor movement routine comes first.
Ten minutes a day rebuilding the missing actions, crouching, kneeling, rolling, gave me back access to the floor. Only then did the spine aligner device become effective, relaxing, and sustainable.
Think of it this way:
The routine is the on-ramp.
The spine aligner is the motorway.
One without the other doesn’t work properly.Safe Floor Movement Routine From Standing to Kneeling Positions
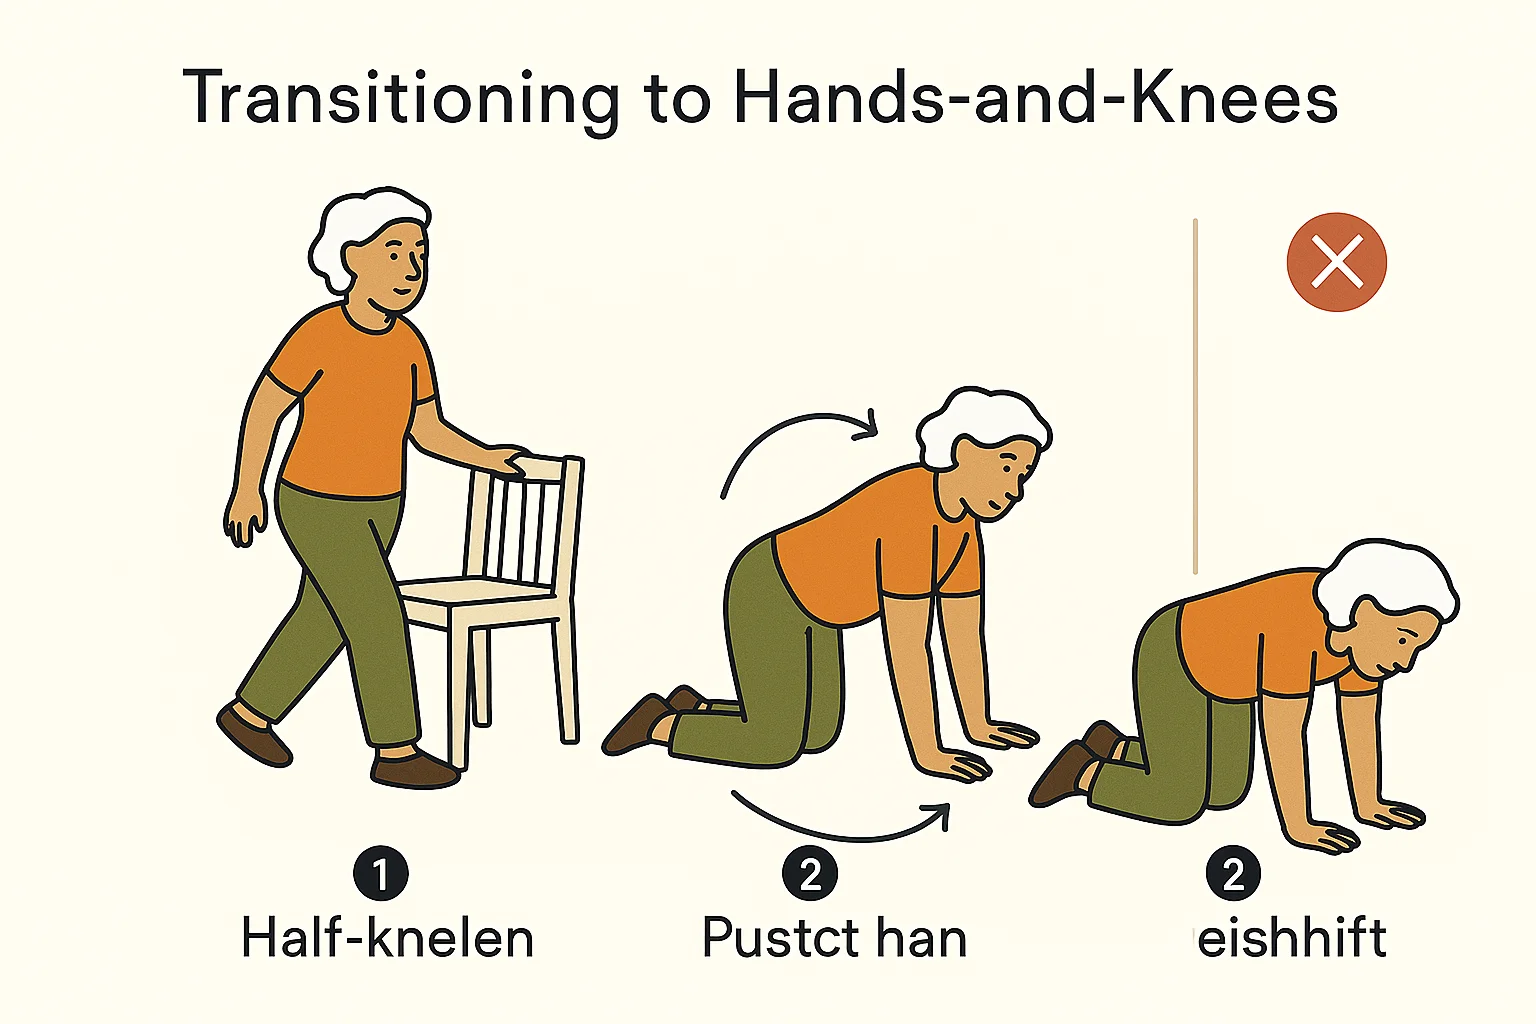
5️⃣ Standing to Half-Kneel (Controlled Descent)
Stand facing your support. Step one foot slightly back and lower yourself slowly, bending the front knee first. Keep your torso upright. Let your hands assist as needed; this is about control, not bravery.Controlling Safe Floor Movement Routine Weight Shift on Hands and Knees
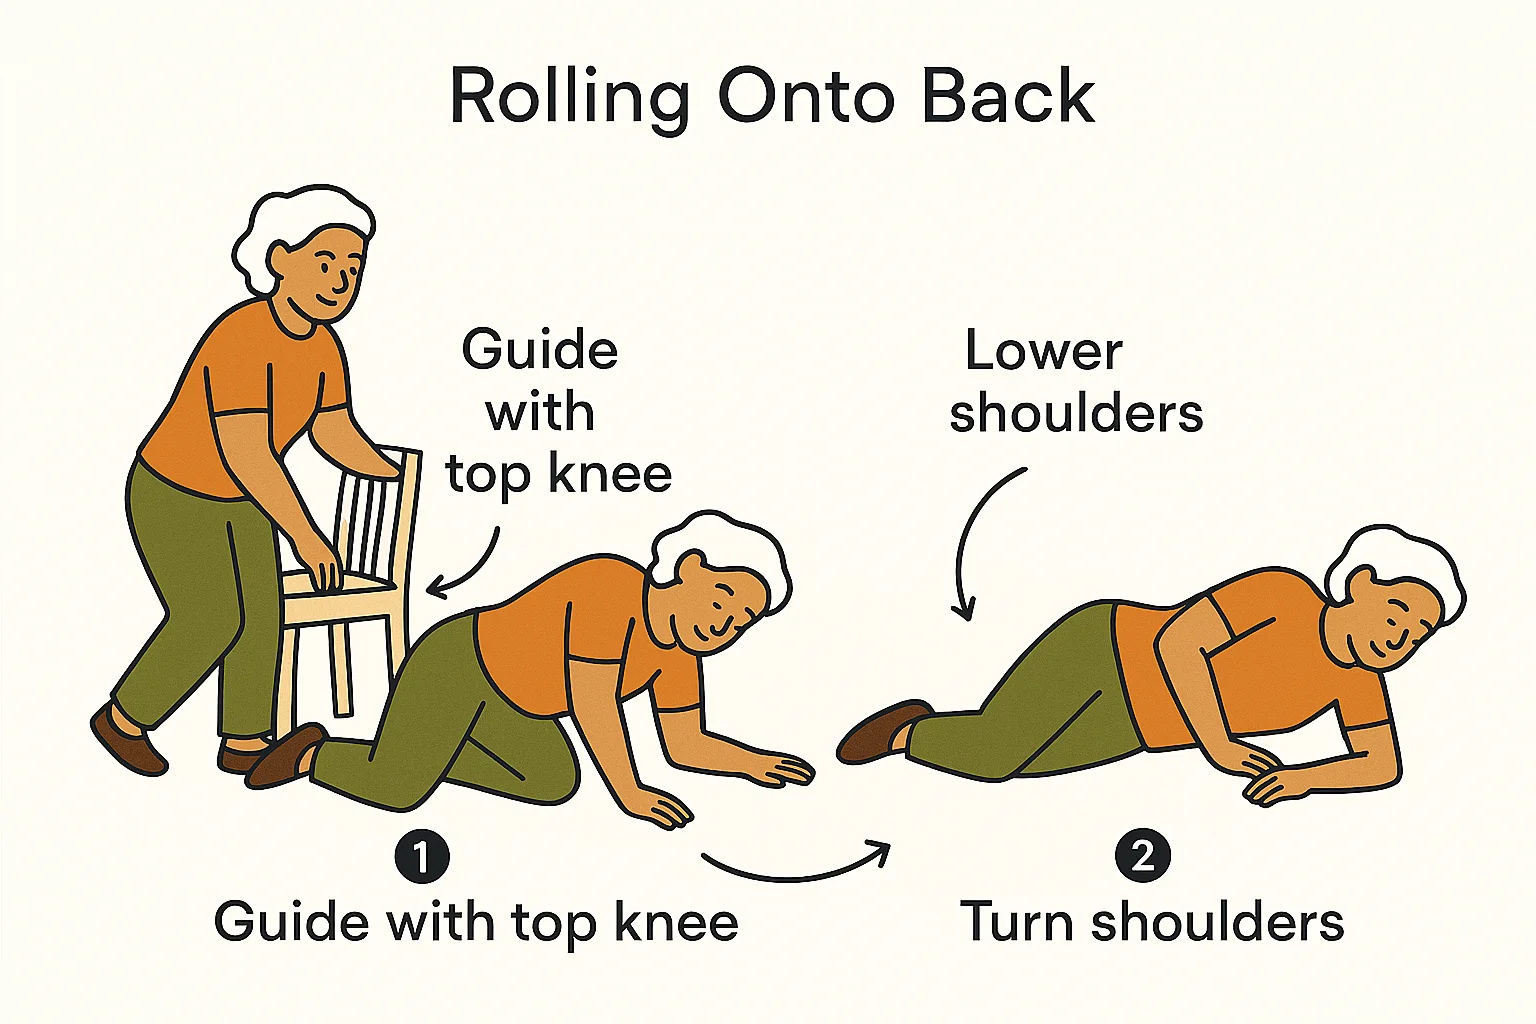
 Guide the movement with your top knee first, allowing your shoulders to follow naturally. Think “knees lead, shoulders follow.” No forcing.
Learning Safe Floor Movement Routine to Roll and Rest on the Floor Again
Settling the Body Once on the Floor Before Using the Device
 Once you’re safely on the floor, this is not the moment to rush.
This is the moment to let the body arrive.
Many people make the mistake of getting down and immediately reaching for a device, stretching, or adjusting posture. But the nervous system hasn’t caught up yet. Even after a safe floor movement routine, the body needs a short pause to switch from doing to receiving.
Start by lying on your back with your knees bent and your feet flat on the floor. Let your arms rest comfortably by your sides. There’s no need to be perfectly straight. Comfort comes first.
Take two or three slow breaths. Inhale through the nose. Exhale gently through the mouth. With each breath out, allow your weight to sink into the floor. This tells the body that it’s safe to let go.
At this stage, small adjustments are fine. You might gently rock your knees side to side, or slide your feet a little closer or farther away, until your lower back feels supported. These micro-movements help the spine soften without forcing it.
This settling phase is an essential part of the safe floor movement routine. It’s where tension drains away, and the body becomes receptive. Skipping this step often leads to bracing, shallow breathing, or discomfort once you lie on a device.
Only when breathing feels calm, and your body feels heavy against the floor, should you begin positioning the four-part spine aligner device beneath you. By then, your spine is already relaxed, your joints are no longer guarding, and “floating” becomes a natural sensation rather than something you try to achieve.
Using a Safe Floor Movement Routine Before a Spine Aligner Device
Think of this phase as the bridge between effort and ease.
You didn’t just get to the floor; you prepared yourself to benefit from being there.
🔹 Safe Floor Movement Routine FAQ SECTION
❓ Do I need to be flexible to start this routine?
❓ How long should I do the routine before using a spine aligner device?
❓ What if my knees won’t tolerate kneeling?
❓ Is this routine instead of a spine aligner device?
Consultation One, One-on-One, Gravity Resistance, Poise
Safe Floor Movement Routine Floor Access Print-Out Checklist
Before using any spine aligner or floor-based self-maintenance device, check the following:
☐ I can stand calmly using light support if needed
☐ I can lower myself toward the floor without rushing
☐ My knees feel supported (cushion or mat in place)
☐ I can move into hands-and-knees comfortably
☐ I can roll to my side without holding my breath
☐ I can lie on my back and breathe easily
☐ I feel settled before placing the device underneath me
Daily Reminder: Ten calm minutes restoring floor access is more effective than forcing longer sessions.
Rule: If you rush getting down, your body won’t relax once you’re there.
#safefloormovementroutine, #gettingupfromfloor, #seniormobilitytraining, #flooraccessconfidence, #jointfriendlymovement, #agingwithconfidence, #safehomemobility,#dailymovementroutine, #selfmaintenanceseniors, #prespinealignerroutine, #activebalanceliving, #movementconfidencetraining,